template: ../media/TB4Template.pptx
- Understand Simulation with Ignition Gazebo and ROS 2
- How to create an empty Gazebo world
- How to add a objects to Gazebo world
- How to spawn a TurtleBot4 in a Gazebo world
- Understanding Launch files
- Creating your own Gazebo visual assets
- To create an empty world, please follow this tutorial on the Gazebo_docs.
- This tutorial will introduce you to () SDF, how to create an empty world, and how to add models to it.
- This tutorial also explains all the Gazebo Plugins required for creating your a custom simulation world.


-
The first step in creating your own Gazebo world is to create an empty SDF file.
-
This empty SDF file will hold all of the elements in your simulation.
-
We'll be following this Gazebo_docs to create an empty SDF file.
-
We'll create the empty file
- Create an empty
.sdffile using thetouchcommand - Then edit the new file using the
geditcommand. Copy the content from./code/L02-S01-empty-world.sdf. - Finally, run the Ignition simulation contained in your SDF file.
- Create an empty
touch empty_world.sdf
gedit empty_world.sdf
ign gazebo empty.sdf
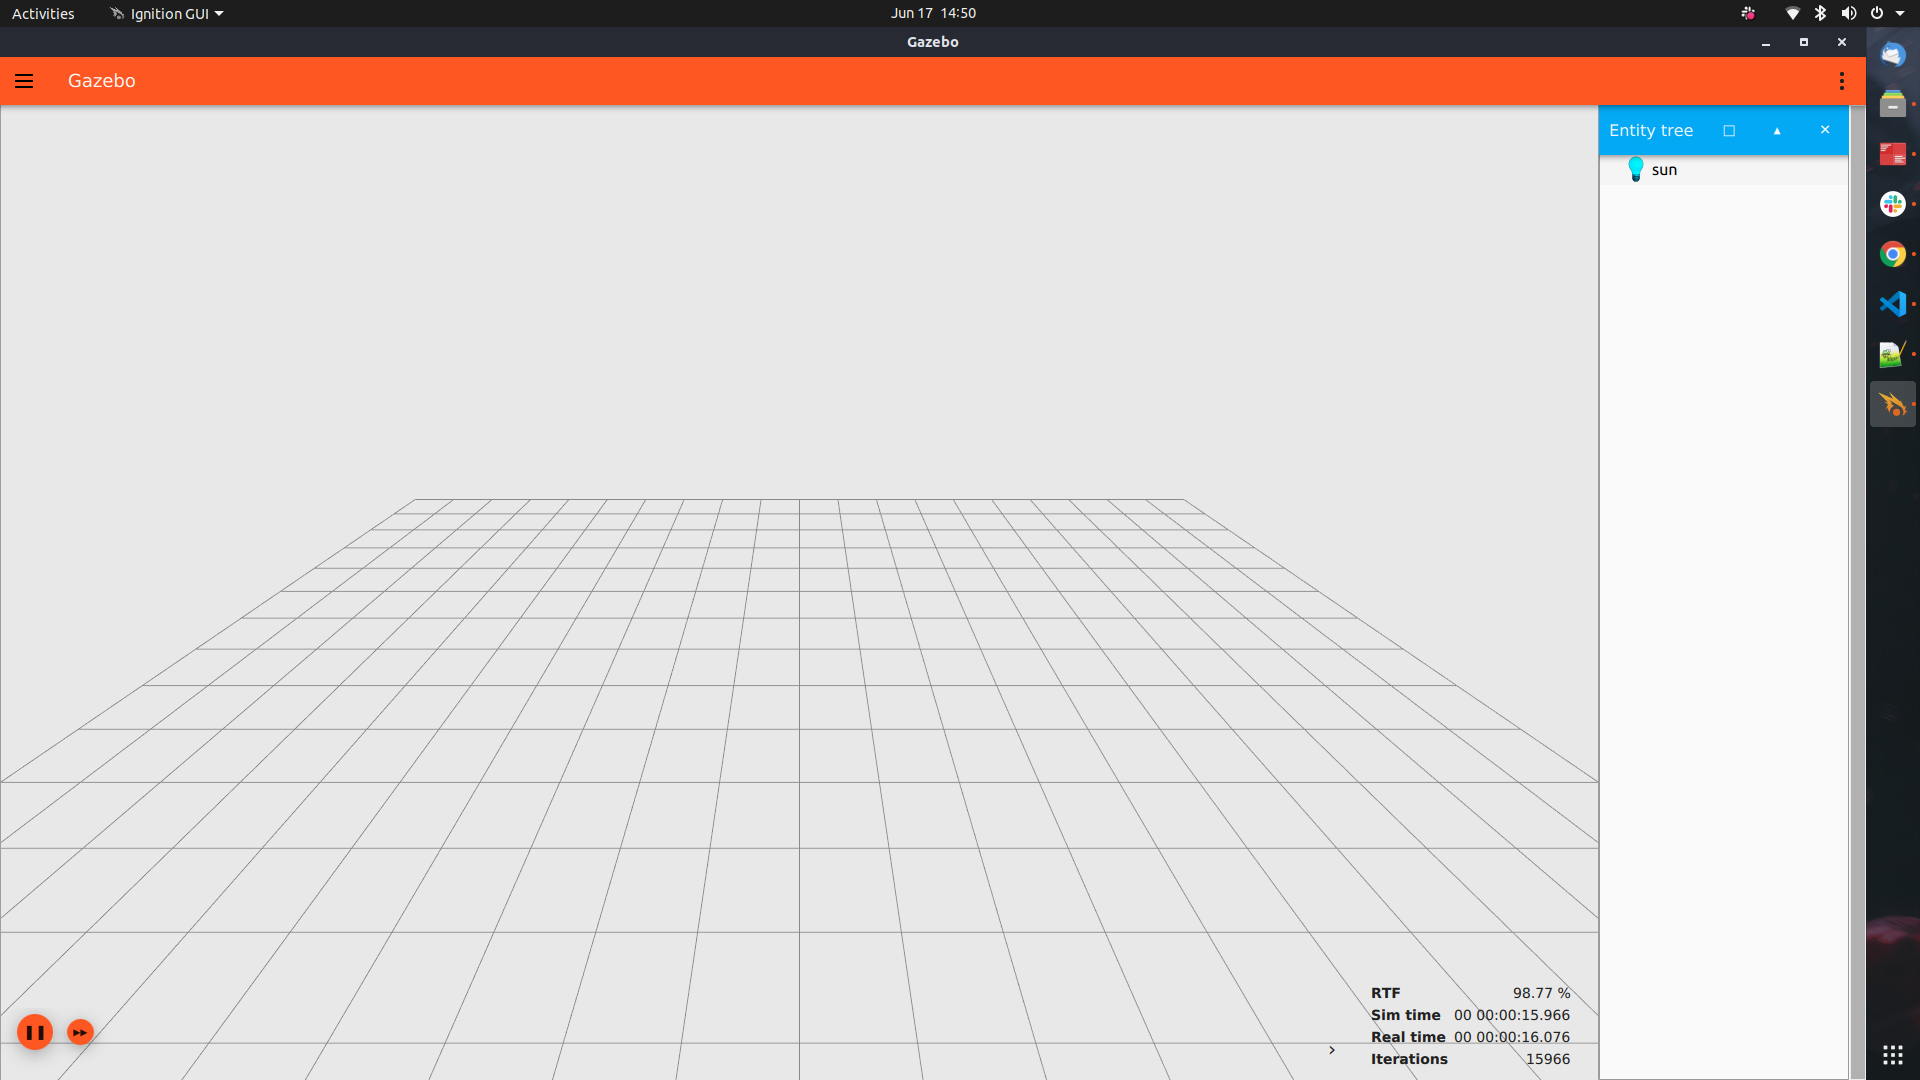
- If you've done everything correctly Gazebo should launch and you should see an empty world like the one below.
- Feel free to look around the world to see what we've created.
- Close the simulation using the X in the top right
- Internally, SDF files use the XML specification to define a Gazebo world.
- XML is similar to HTML where there are tag elements that have both opening and closing tags.
- Opening tags look like:
<tag>and closing tags look like</tag> - Each SDF file starts with an xml version tag, an SDF version tag, and a world name.
- The closing tags are at the end of the file.
<?xml version="1.0" ?>
<sdf version="1.8">
  <world name="empty_world">
  ...
  </world>
</sdf>- SDF and Gazebo let you use
pluginsto add functionality to your simulation. - In your XML file you must specify the plugin filename and the plugin name.
- For our simulation we'll be including the Physics, User Commands, and Scene Broadcaster plugins.
- Here is an example of what is in your "empty" world SDF file.
<plugin
    		filename="libignition-gazebo-physics-system.so"
   		name="ignition::gazebo::systems::Physics">
	</plugin>
	<plugin
    		filename="libignition-gazebo-user-commands-system.so"
    		name="ignition::gazebo::systems::UserCommands">
	</plugin>
	<plugin
    		filename="libignition-gazebo-scene-broadcaster-system.so"
    		name="ignition::gazebo::systems::SceneBroadcaster">
</plugin>- Now let's define our Gazebo GUI.
- Under the tag we specify anything related to the GUI of Ignition.
- ignition-gui has a bunch of plugins to choose from.
- We will add the ones that are necessary to get our world up and running with basic functionality.
<gui fullscreen="0">
  .
  .
  .

</gui>
- Next we'll add a scene 3D plugin to GUI.
- The GzScene3D plugin is responsible for displaying the 3D scene of our world.
- This plugin let's us manually configure a variety of aspects of the Gazebo GUI including the GUI state, the ambient lighting, the camera position, and the background color.
    <!-- 3D scene -->
  <plugin filename="GzScene3D" name="3D View">
      <ignition-gui>
          <title>3D View</title>
          <property type="bool" key="showTitleBar">false</property>
          <property type="string" key="state">docked</property>
      </ignition-gui>

      <engine>ogre2</engine>
      <scene>scene</scene>
      <ambient_light>1.0 1.0 1.0</ambient_light>
      <background_color>0.8 0.8 0.8</background_color>
      <camera_pose>-6 0 6 0 0.5 0</camera_pose>
  </plugin>
- The World control plugin is responsible for controlling our view of the Gazebo world.
- This plugin enables things like the play_pause button, the stats_topic, start_paused
- This plugin includes general properties like, the height and width of the window.
<plugin filename="WorldControl" name="World control">
    <ignition-gui>
        <title>World control</title>
        <property type="bool" key="showTitleBar">false</property>
        <property type="bool" key="resizable">false</property>
        <property type="double" key="height">72</property>
        <property type="double" key="width">121</property>
        <property type="double" key="z">1</property>
        <property type="string" key="state">floating</property>
        <anchors target="3D View">
        <line own="left" target="left"/>
        <line own="bottom" target="bottom"/>
        </anchors>
    </ignition-gui>
    <play_pause>true</play_pause>
    <step>true</step>
    <start_paused>true</start_paused>
    <service>/world/world_demo/control</service>
    <stats_topic>/world/world_demo/stats</stats_topic>
</plugin>
- The World Stats Plugin is responsible for displaying the simulation world statistics, these includes
<sim_time>,<real_time>,<real_time_factor>and<iterations>. - These numbers tell you how the total elapsed time in simulation, total real time elapsed, the real time factor of the simulation, and the number of simulation iterations.
- Like before, the plugin includes generic properties like width, height, and resizeable.
<!-- World statistics -->
<plugin filename="WorldStats" name="World stats">
    <ignition-gui>
        <title>World stats</title>
        <property type="bool" key="showTitleBar">false</property>
        <property type="bool" key="resizable">false</property>
        <property type="double" key="height">110</property>
        <property type="double" key="width">290</property>
        <property type="double" key="z">1</property>
        <property type="string" key="state">floating</property>
        <anchors target="3D View">
        <line own="right" target="right"/>
        <line own="bottom" target="bottom"/>
        </anchors>
    </ignition-gui>
    <sim_time>true</sim_time>
    <real_time>true</real_time>
    <real_time_factor>true</real_time_factor>
    <iterations>true</iterations>
    <topic>/world/world_demo/stats</topic>
</plugin>- The next step in our SDF file is to create a "Sun" object so we can see our environment.
- To create our sun we'll create a single source of light using the
lightXML tag. - The light object below specifies a single point light source in our simulation.
<light type="directional" name="sun">
	    <cast_shadows>true</cast_shadows>
	    <pose>0 0 10 0 0 0</pose>
	    <diffuse>0.8 0.8 0.8 1</diffuse>
	    <specular>0.2 0.2 0.2 1</specular>
	    <attenuation>
		<range>1000</range>
		<constant>0.9</constant>
		<linear>0.01</linear>
		<quadratic>0.001</quadratic>
	    </attenuation>
	    <direction>-0.5 0.1 -0.9</direction>
</light>- Another crucial component of a Gazebo simulation is physics simulation.
- In the following block we set the physics engine (ODE), the real-time factor (the "speed" of the simulation), and the maximum time step size.
    <physics type='ode'>
      <max_step_size>0.001</max_step_size>
      <real_time_factor>1</real_time_factor>
      <real_time_update_rate>1000</real_time_update_rate>
</physics>- Now that we've walked through our "empty" Gazebo world let's restart it and take a look.
- The full SDF file can be found here
- You can load Gazebo using the following command:
ign gazebo L02-S01-empty_world.sdf

- Let's modify our empty world to add a ground plane a few simple shapes.
- The first thing we're going to add to our empty world is a
ground planeupon which our robot will sit. - We will use the
modeltag to load a simple model into our world. - Each SDF
modelhas two parts:- Collision -- how other objects will interact with the world.
- Visual -- how the object will look on the screen.
- The
geometryfor our model will be a simple plane with a size of 100x100 with a normal pointing up.
 <model name='ground_plane'>
      <static>1</static>
      <link name='link'>
        <collision name='collision'>
          <geometry>
            <plane>
              <normal>0 0 1</normal>
              <size>100 100</size>
            </plane>
          </geometry>
          <surface>
            <friction>
              <ode/>
            </friction>
            <bounce/>
            <contact/>
          </surface>
</collision>- The visual component of our floor model has two components:
- The geometry, in this case a plane of size 100 x 100 with a normal pointing up.
- The material, in this a case a plain gray material..
	 <visual name='visual'>
          <geometry>
            <plane>
              <normal>0 0 1</normal>
              <size>100 100</size>
            </plane>
          </geometry>
          <material>
            <ambient>0.8 0.8 0.8 1</ambient>
            <diffuse>0.8 0.8 0.8 1</diffuse>
            <specular>0.8 0.8 0.8 1</specular>
          </material>
        </visual>
      </link>
      <pose>0 0 0 0 -0 0</pose>
    </model>
- The last thing we need to do is add some basic physics parameters.
- The first parameter is gravity, which we'll set to 9.8m/s^2 in the negative Z direction.
- Since our robots might have a magnetometer we're also going to add a magnetic field to mimic the earth.
- Finally, we'll set the atmosphere type to
adiabatic.
  <gravity>0 0 -9.8</gravity>
  <magnetic_field>6e-06 2.3e-05 -4.2e-05</magnetic_field>
<atmosphere type='adiabatic'/>- Now that our world is set up, let's run it.
- The complete file can be found at code/L02-S02-model_shape.sdf
- You can run the world just like the previous SDF files, using the command:
ign gazebo L02-S02-model_shape.sdf

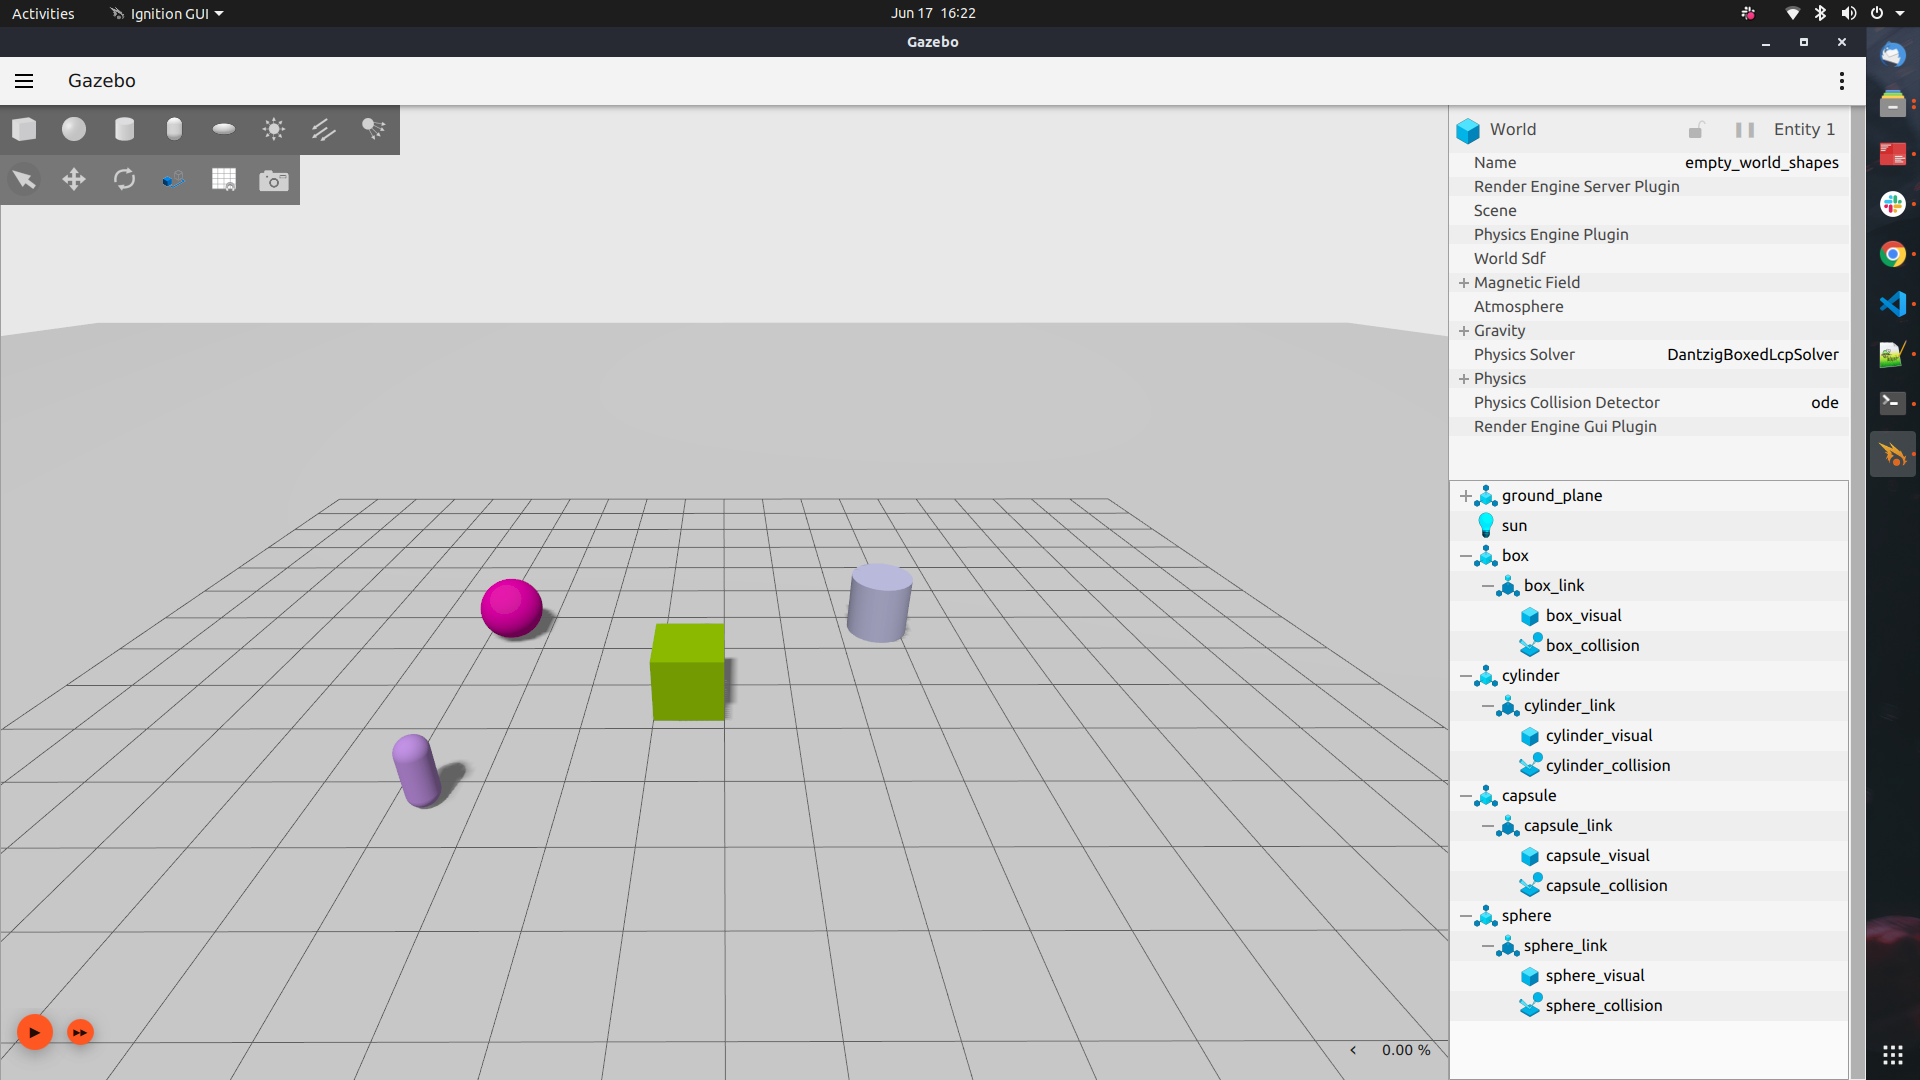
- After launching Ignition, in the GUI, on the top left toolbar hanging below the file menu button contains transform control (first four buttons) and shape buttons (sphere, box, cylinder).
- You can click on any of the shapes to add them to the Gazebo World
- Add shapes and try changing the color of the objects
- If you would like to change the color of any of the objects you have added, simply select the objects you have created and follow below steps:
- In your right side of the panel, expand the box and select the box_visual option
- Under visual, select Material and change the diffuse color.
- Instead of building our own models we can use already built ones.
- Ignition Fuel hosts hundreds of models that can easily be added to an Ignition world.
- Next we're going to add a robot or object model from the internet.
- Refer the tutorial for detailed explanation.
- TODO: upgrade to Fortress and summarize tutorials
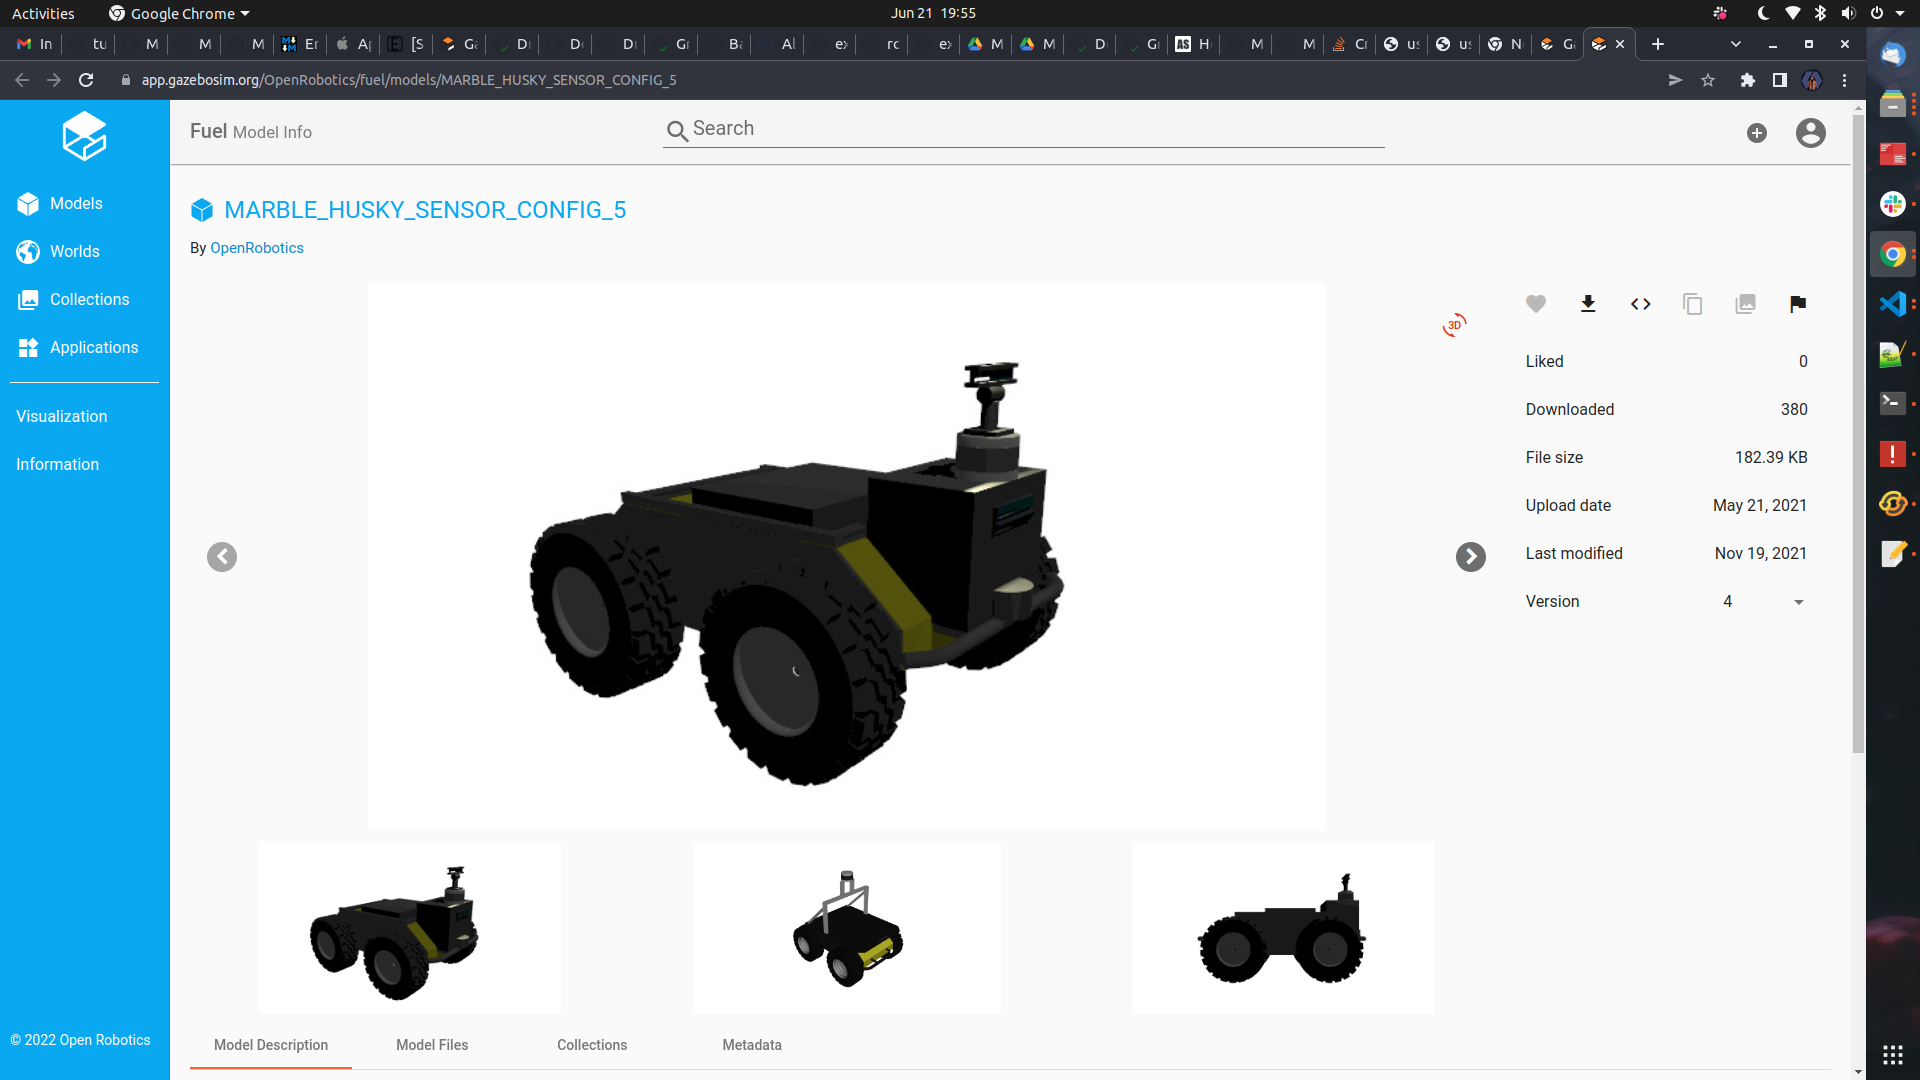
- Next we're going to add a model from Fuel to our Gazebo simulation.
- First go to the fuel website: https://app.gazebosim.org/fuel
- Under model section choose your desired model by copying "SDF snippet". In this example, visit Husky_Robot model.
- Click me to view entire SDF code with fuel snippet
- Once you have your model, copy the snippet to your clip board and paste it into your SDF file under world tag
<world> ... </world> - & launch your ROS 2 application in gazebo ignition GUI
<world name="empty_world">
...
  <include>
  <pose>2 2 0.15 0 0 0</pose>
  <uri>
  https://fuel.gazebosim.org/1.0/OpenRobotics/models/MARBLE_HUSKY_SENSOR_CONFIG_5
  </uri>
  </include>
...
</world>- Create a new ROS2 package in src of your workspace
ros2 pkg create --build-type ament_python unit01_simulation_gazebo_world
- Navigate to package root folder and create two new folders one for the launch and other for worlds
cd src/unit01_simulation_gazebo_world
mkdir launch
mkdir worlds
- Create a new Launch file inside launch folder
cd launch
touch fuel_model.launch.py
-
Before leveling up, please refer to ROS2 documentation on How to create launch files ROS2_Launch_files
-
Let us import few launch libraries from ROS2.
-
Here we import LaunchDescription to describe the launch and Node from launch_ros.actions to describe initialization of possible nodes in our project.
from launch import LaunchDescription
from launch_ros.actions import Node
- Using the above imports, we define and describe our launch method.
- Below is an example syntax to define launch description. Here we return LaunchDescription object with required launch arguments.
def generate_launch_description():
   return LaunchDescription([

   ])
- We must create a directory for our package and the package that will be launched.
- This helps us to know the paths of the packages.
# Directories
    pkg_unit01_simulation_gazebo_world_bringup = get_package_share_directory(
        'unit01_simulation_gazebo_world')


    pkg_ros_ign_gazebo = get_package_share_directory(
        'ros_ign_gazebo')
- Now, we need to set ignition resource path for our world by setting environment variable. This helps us in passing world as a resource to Ign gazebo
- This can be done as shown below, we need to give a valid Environment variable name and its path as value
 # Set ignition resource path
    ign_resource_path = SetEnvironmentVariable(
        name='IGN_GAZEBO_RESOURCE_PATH',
        value=[
            os.path.join(pkg_unit01_simulation_gazebo_world_bringup, 'worlds')])
- As we now have our resource. Lets set paths for ros_ign_gazebo to trigger ign_gazebo.launch.py launch file
- Here
pkg_ros_ign_gazebois our path/ directory forign_gazebo.launch
   # Paths
    ign_gazebo_launch = PathJoinSubstitution(
        [pkg_ros_ign_gazebo, 'launch', 'ign_gazebo.launch.py'])
- Summing up, lets define Launch Description and launch arguments for ignition gazebo
- Lets create a new object of type
IncludeLaunchDescriptionwithPythonLaunchDescriptionSourceandlaunch_arguments. - Now lets pass ign_args, LaunchConfiguration as world and other config args to the
launch_argumentsas shown below.
  # Ignition gazebo
    ignition_gazebo = IncludeLaunchDescription(
        PythonLaunchDescriptionSource([ign_gazebo_launch]),
        launch_arguments=[
            ('ign_args', [
                LaunchConfiguration('world'), '.sdf',
                ' -v 4',
                ' --gui-config '])
        ]
    )
- As discussed earlier, Let us pass our launch arguments and actions to our LaunchDescription
- This completes our launch description setup.
  # Define LaunchDescription variable
    ld = LaunchDescription(ARGUMENTS)
    ld.add_action(ign_resource_path)
    ld.add_action(ignition_gazebo)
- No, Its is not done yet. Let us add worlds and launch directory to setup.py
- The syntax for passing the shared path of the launch and worlds directories is shown below. This informs the ROS2 package of its existence.
import os
from glob import glob

# Under data_files in setup add below directories
(os.path.join('share', package_name), glob('launch/*.launch.py')),
(os.path.join('share', package_name,'worlds'), glob('worlds/*'))
- Direct to newly created worlds folder
- Create a SDF world file inside worlds directory
cd worlds
touch custom_world.sdf
- Add fuel model snippet to the world
<world name="empty_world">
...
<include>
<pose>2 2 0.15 0 0 0</pose>
<uri>
https://fuel.gazebosim.org/1.0/OpenRobotics/models/MARBLE_HUSKY_SENSOR_CONFIG_5
</uri>
</include>
...
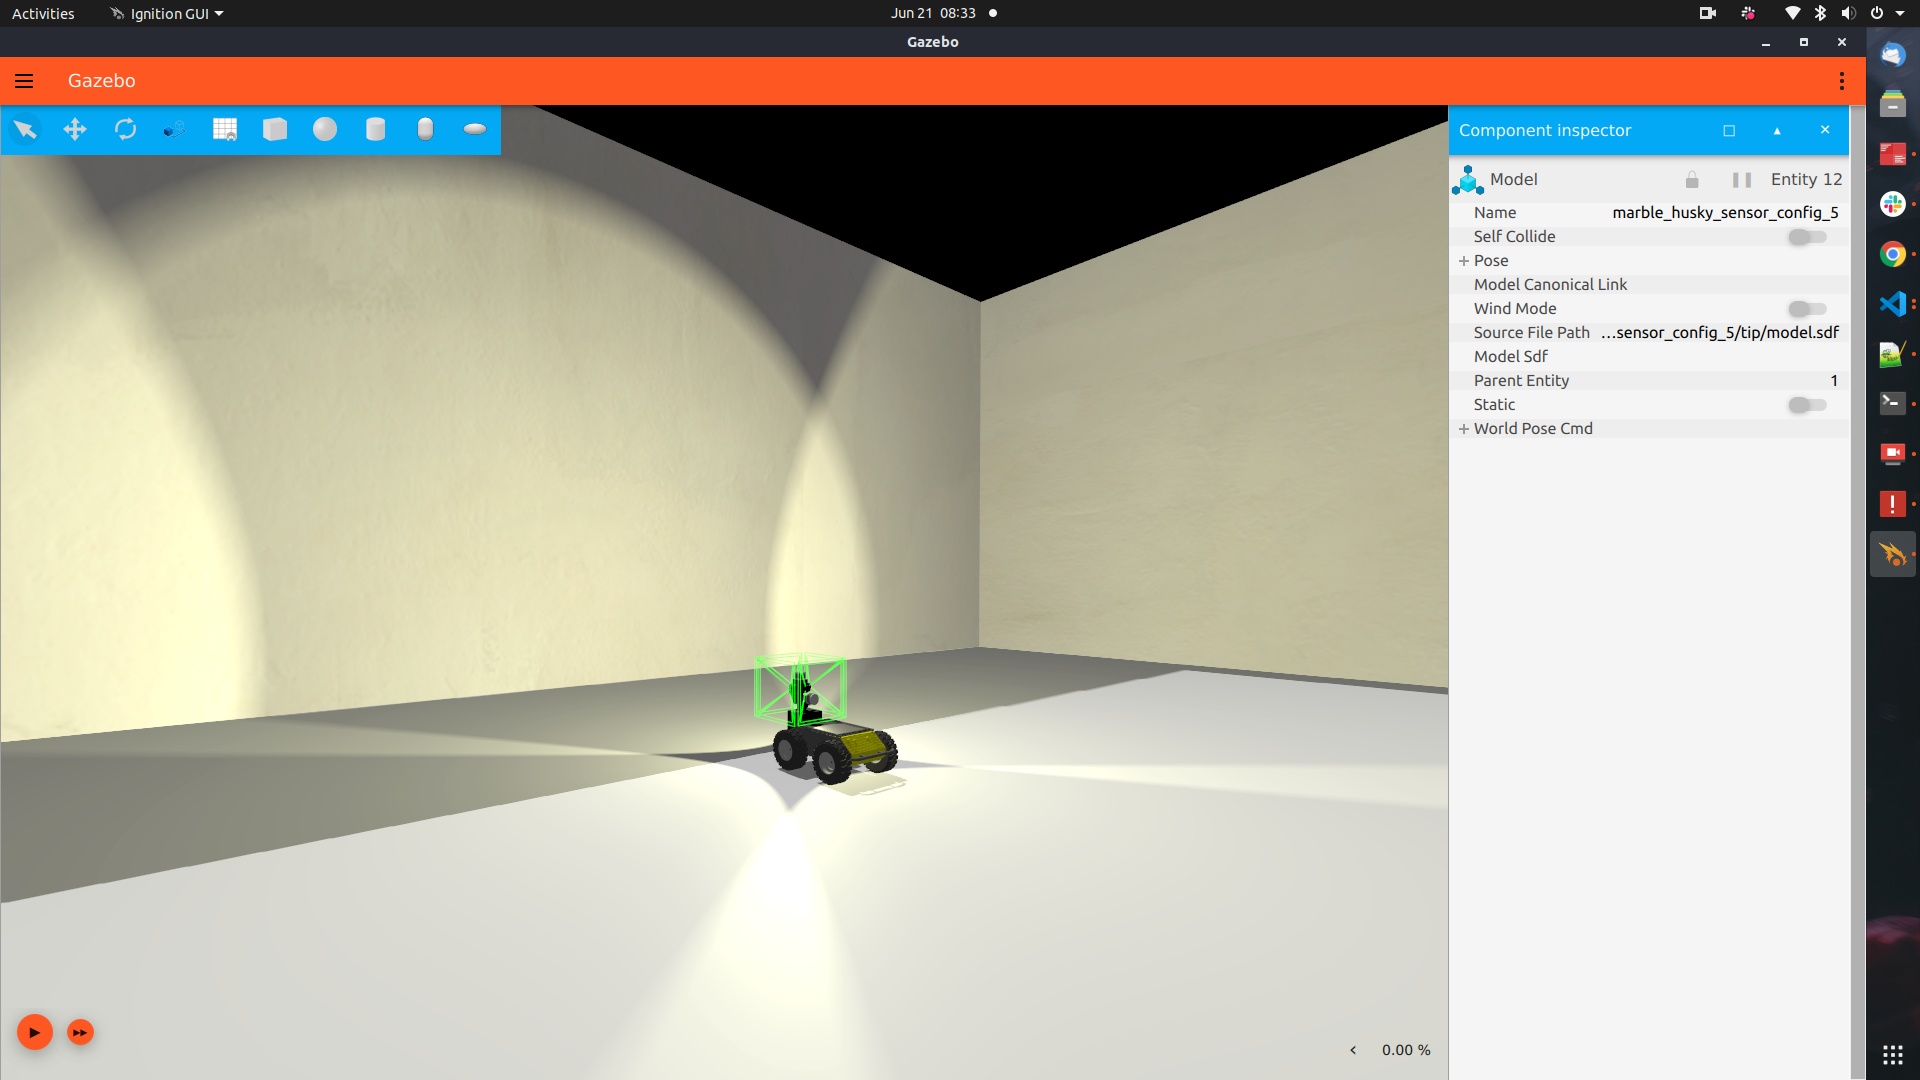
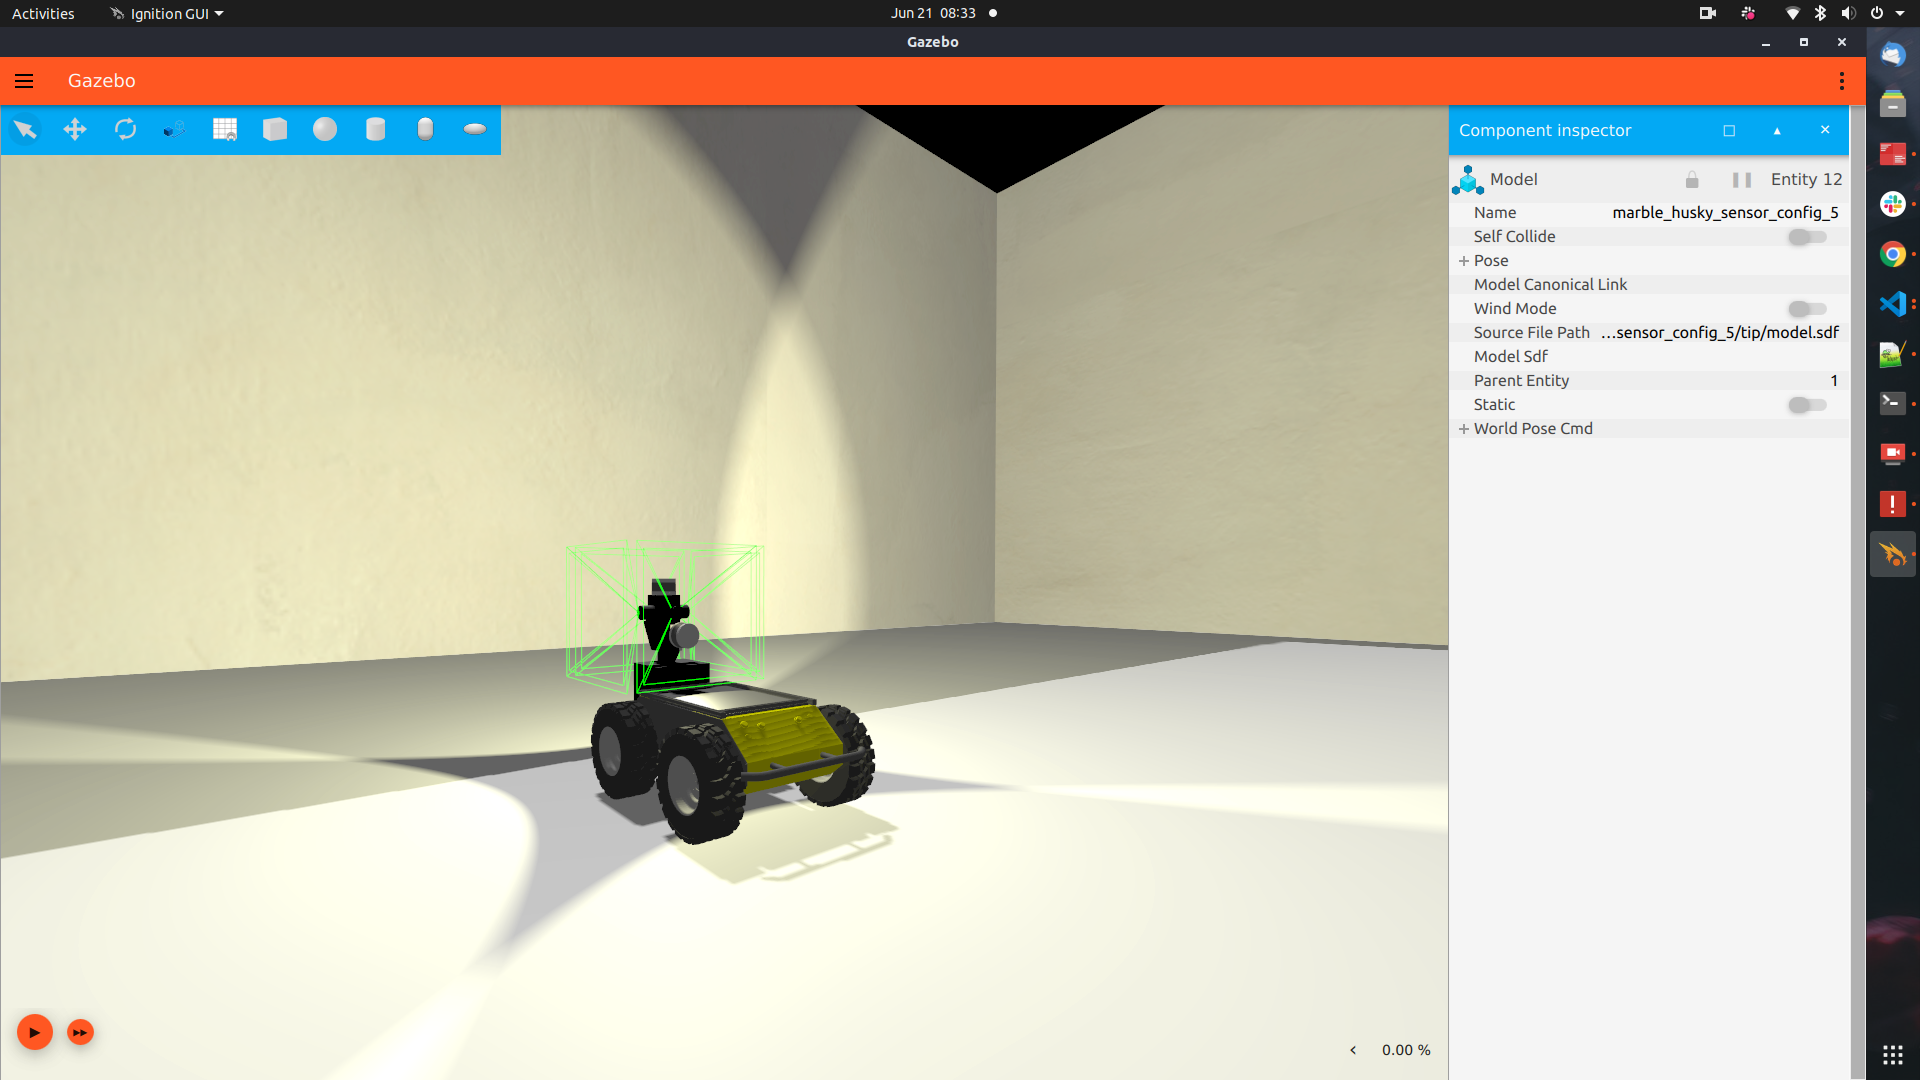
</world>- Its time to launch the Fuel model. Hurrayyy! we launched the fuel model in gazebo ignition using ROS2
colcon build
ros2 launch unit01_simulation_gazebo_world fuel_model.launch.py
- The complete unit01_simulation_gazebo_world project is found inside projects directory in the root folder.
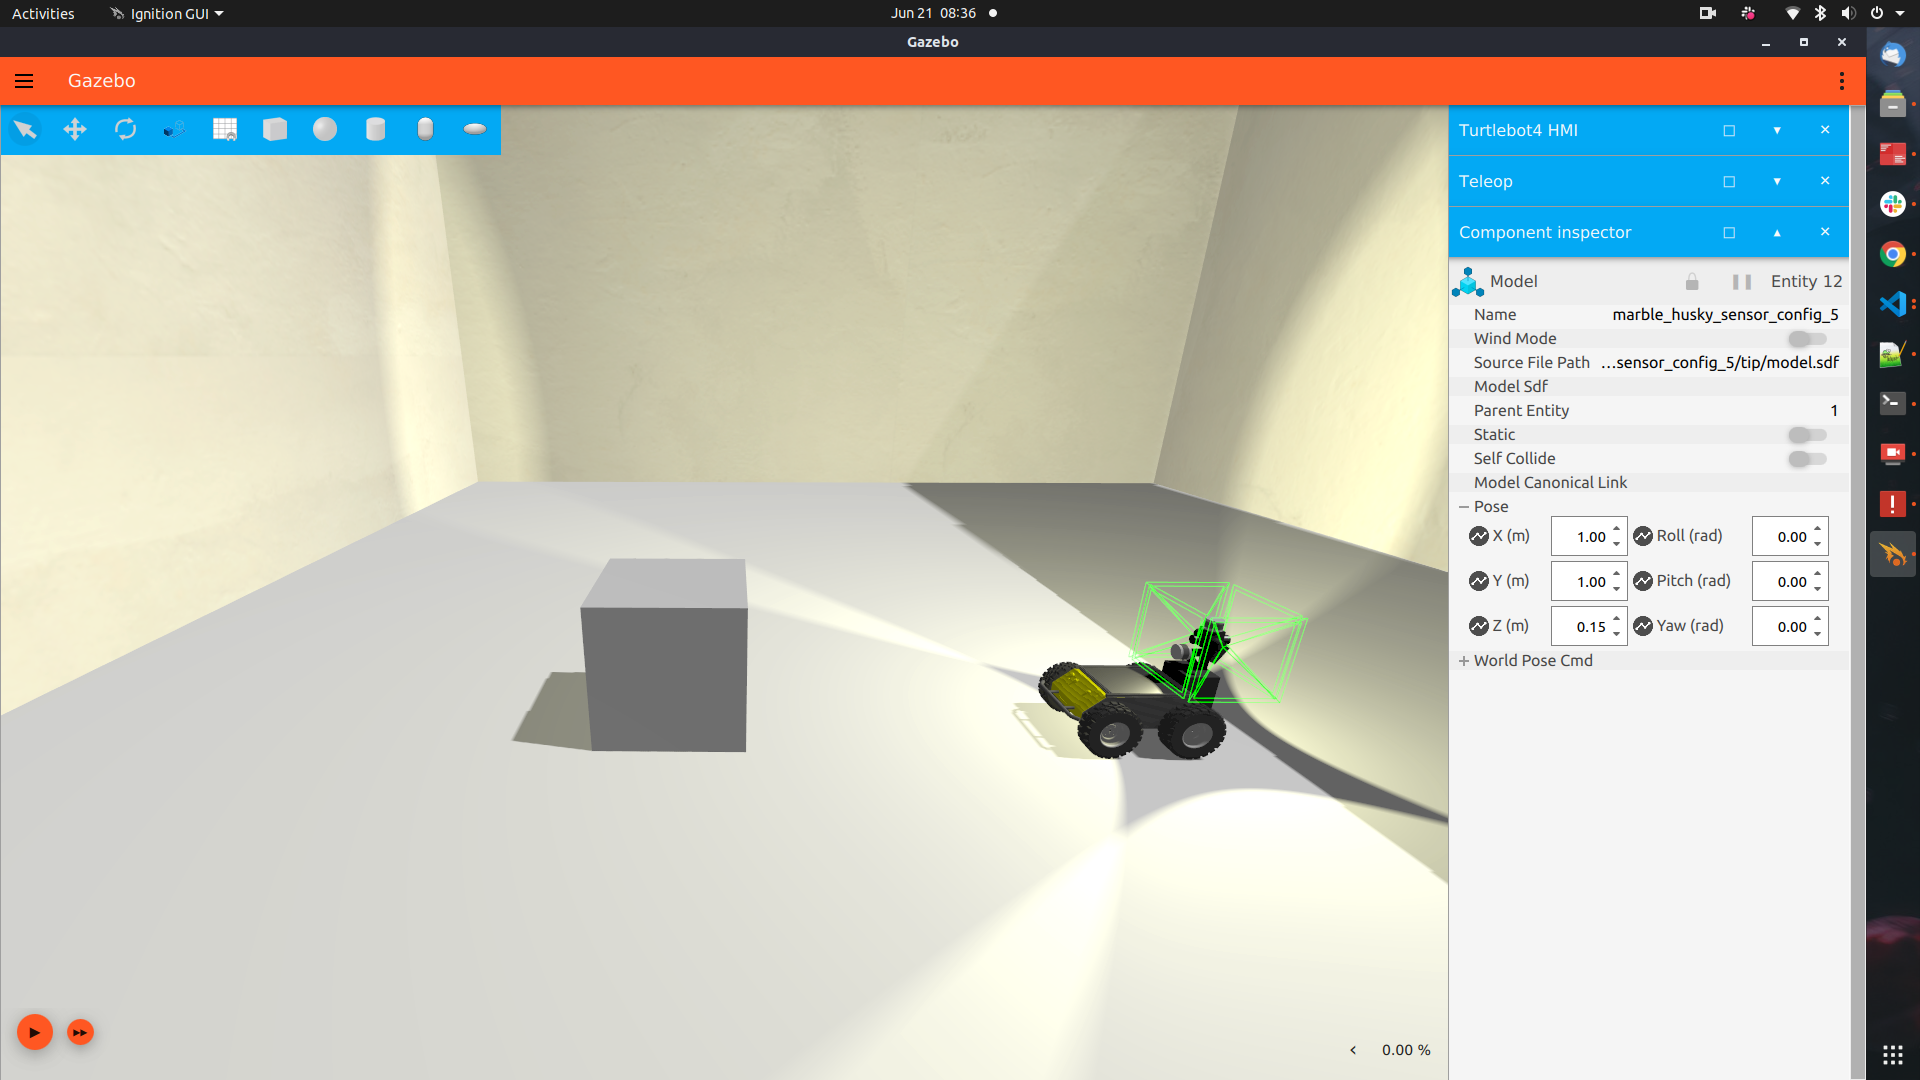
- Predefined forms such as solid circles, cubes, and cylinders can be found in the top left corner of the ignition GUI. You can drag and drop objects into your world to utilize as obstacles.
- Below is the pictorial example of the above description.
- Initially Source the package
. install/setup.bash
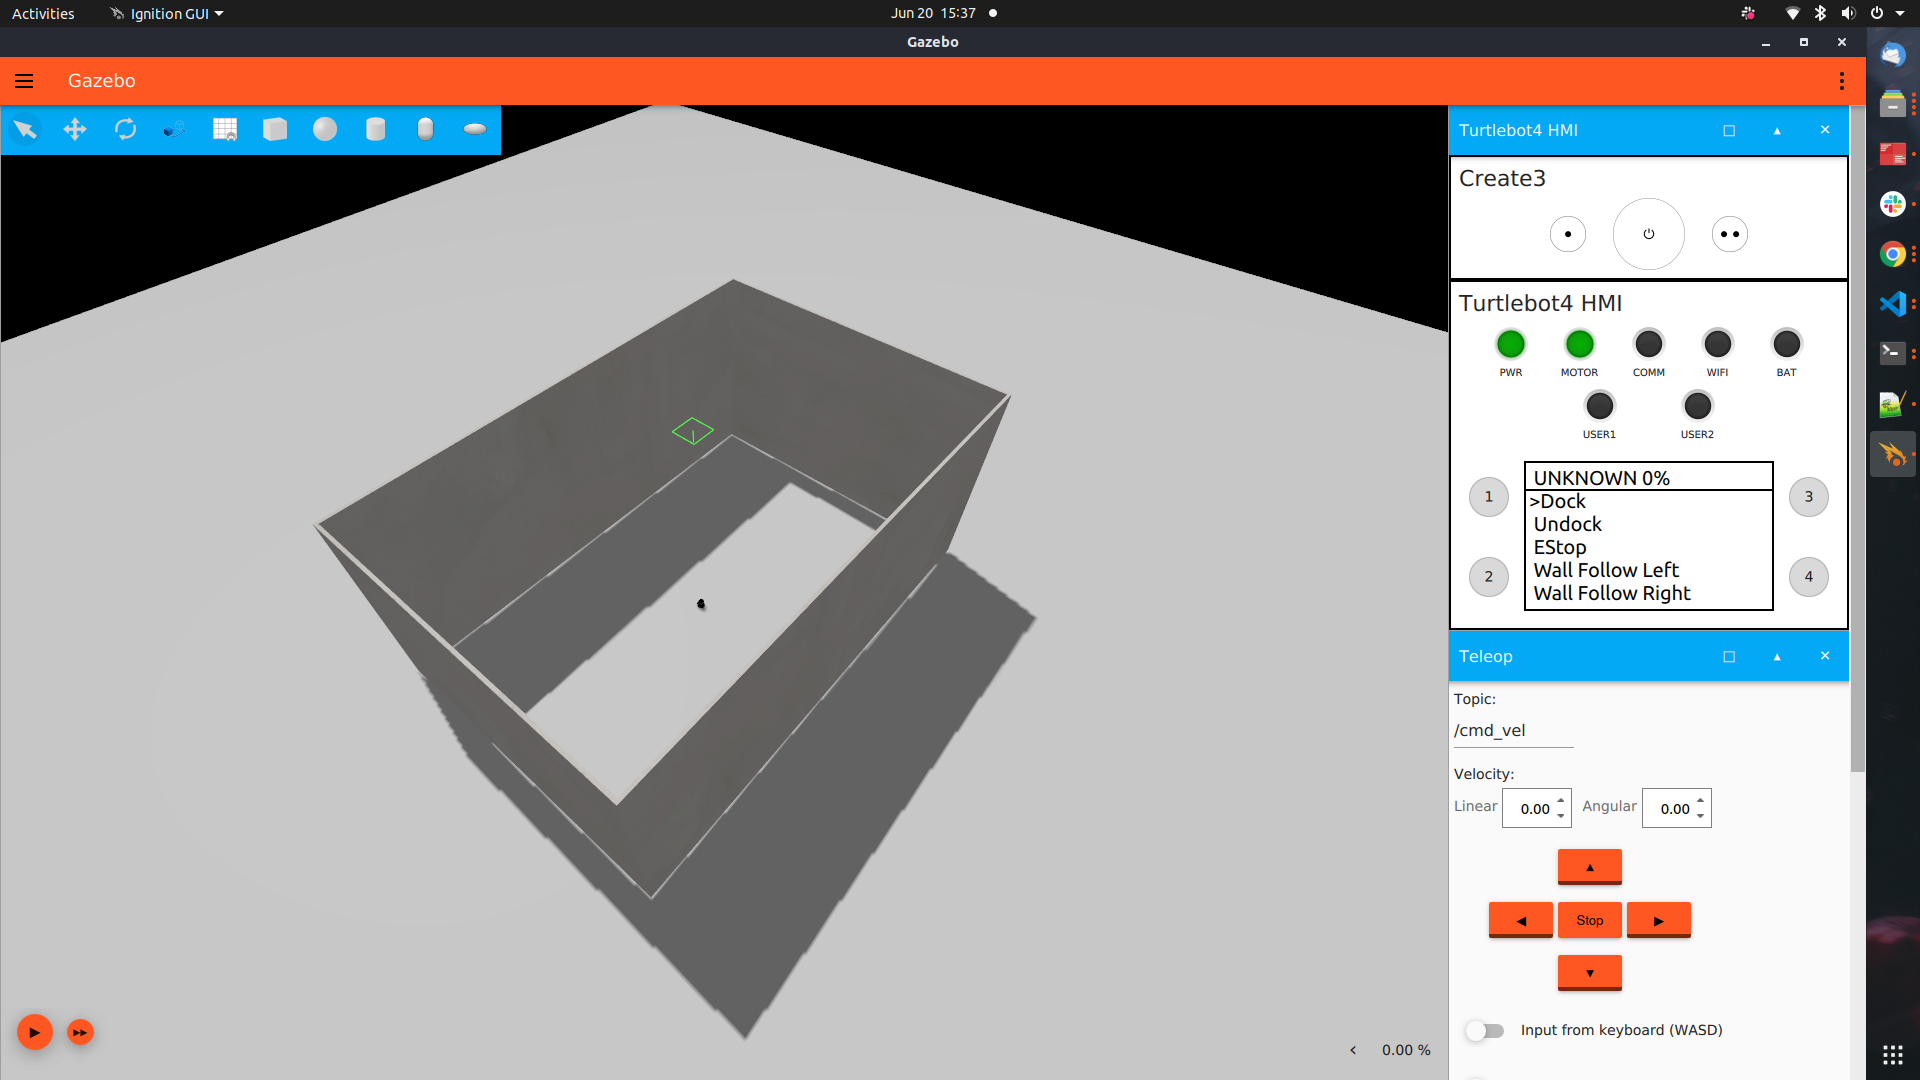
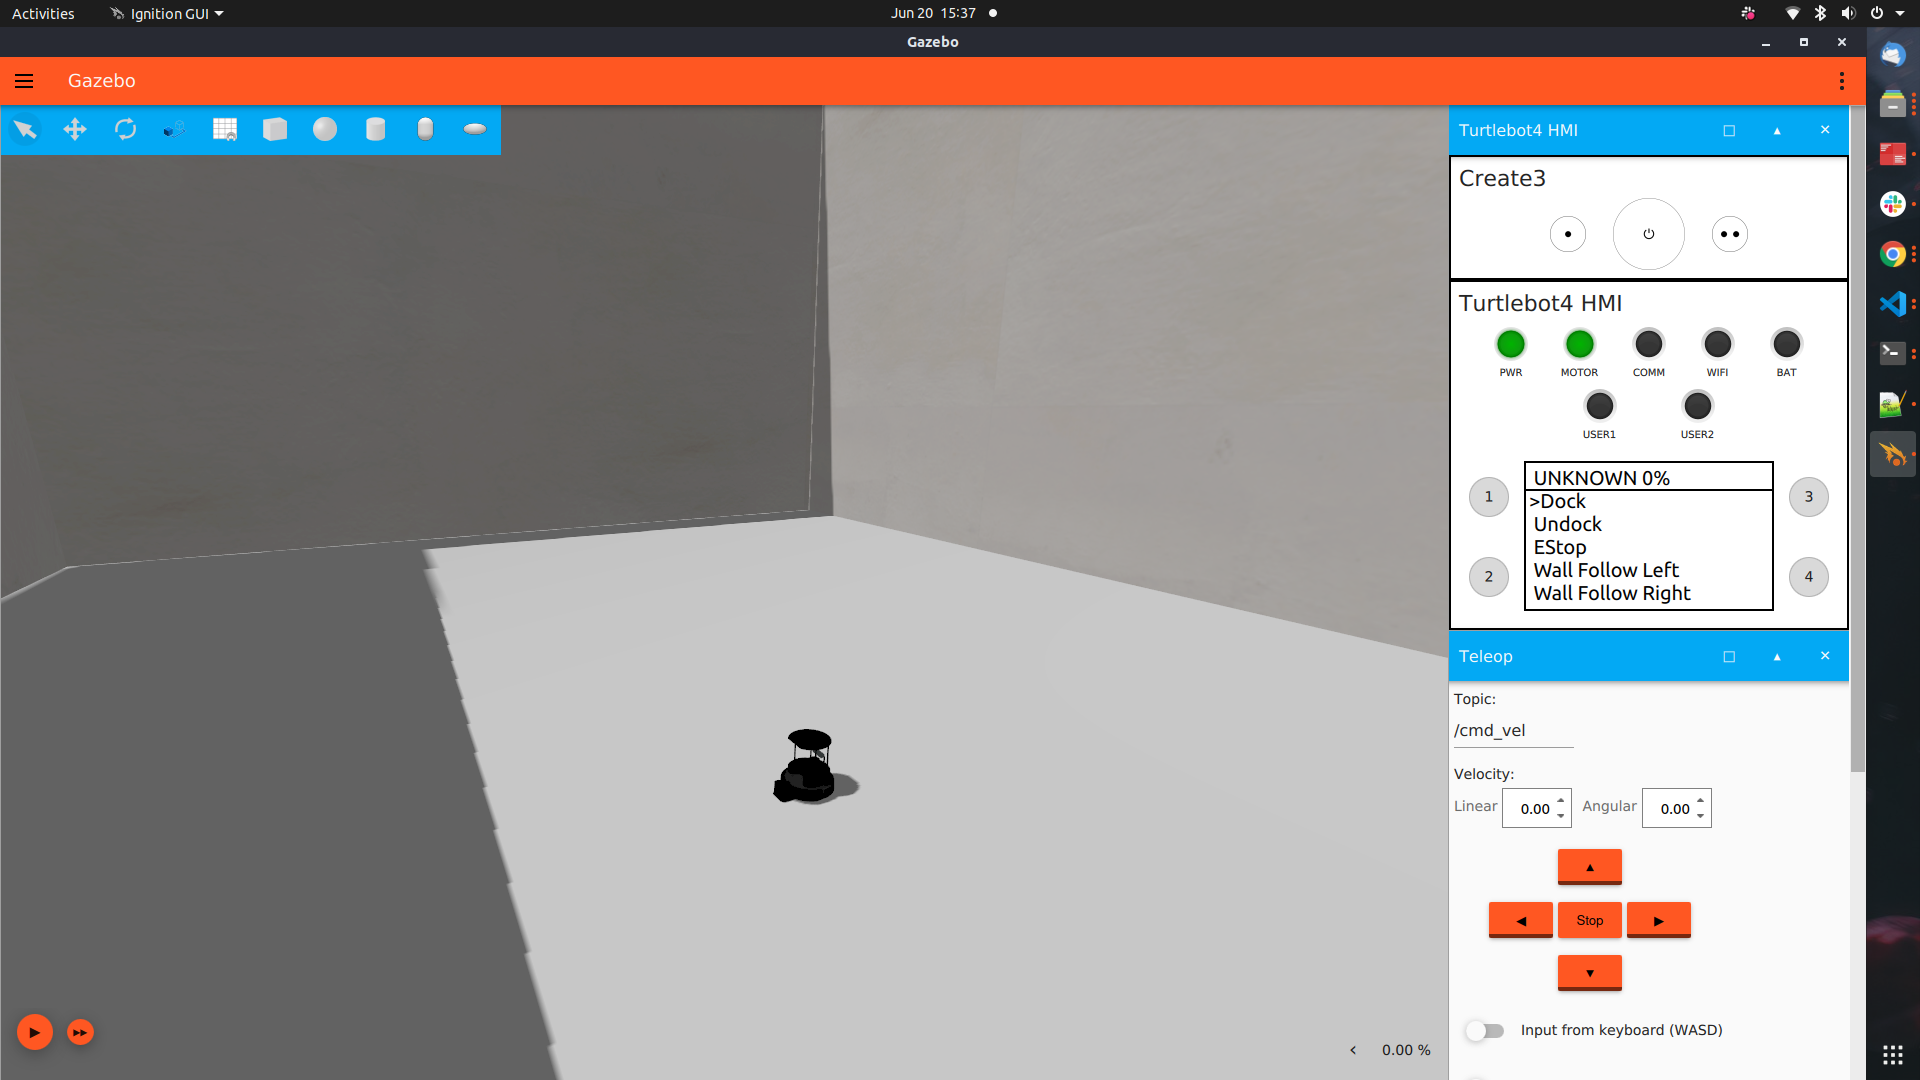
- Then Launch TurtleBot4 as follows
ros2 launch turtlebot4_ignition_bringup ignition.launch.py
- From the past examples, we now know how to create a custom world.
- With that experience, below is the sample SDF comprising of empty warehouse world that we've pulled from Ignition Fuel
- You can add the world from Fuel by copying the snippet shown below:
cd src/turtlebot4_simulator/turtlebot4_ignition_bringup/worlds
touch custom_world.sdf
<include>
  <uri>
    https://fuel.gazebosim.org/1.0/OpenRobotics/models/aws_robomaker_warehouse_WallB_01
  </uri>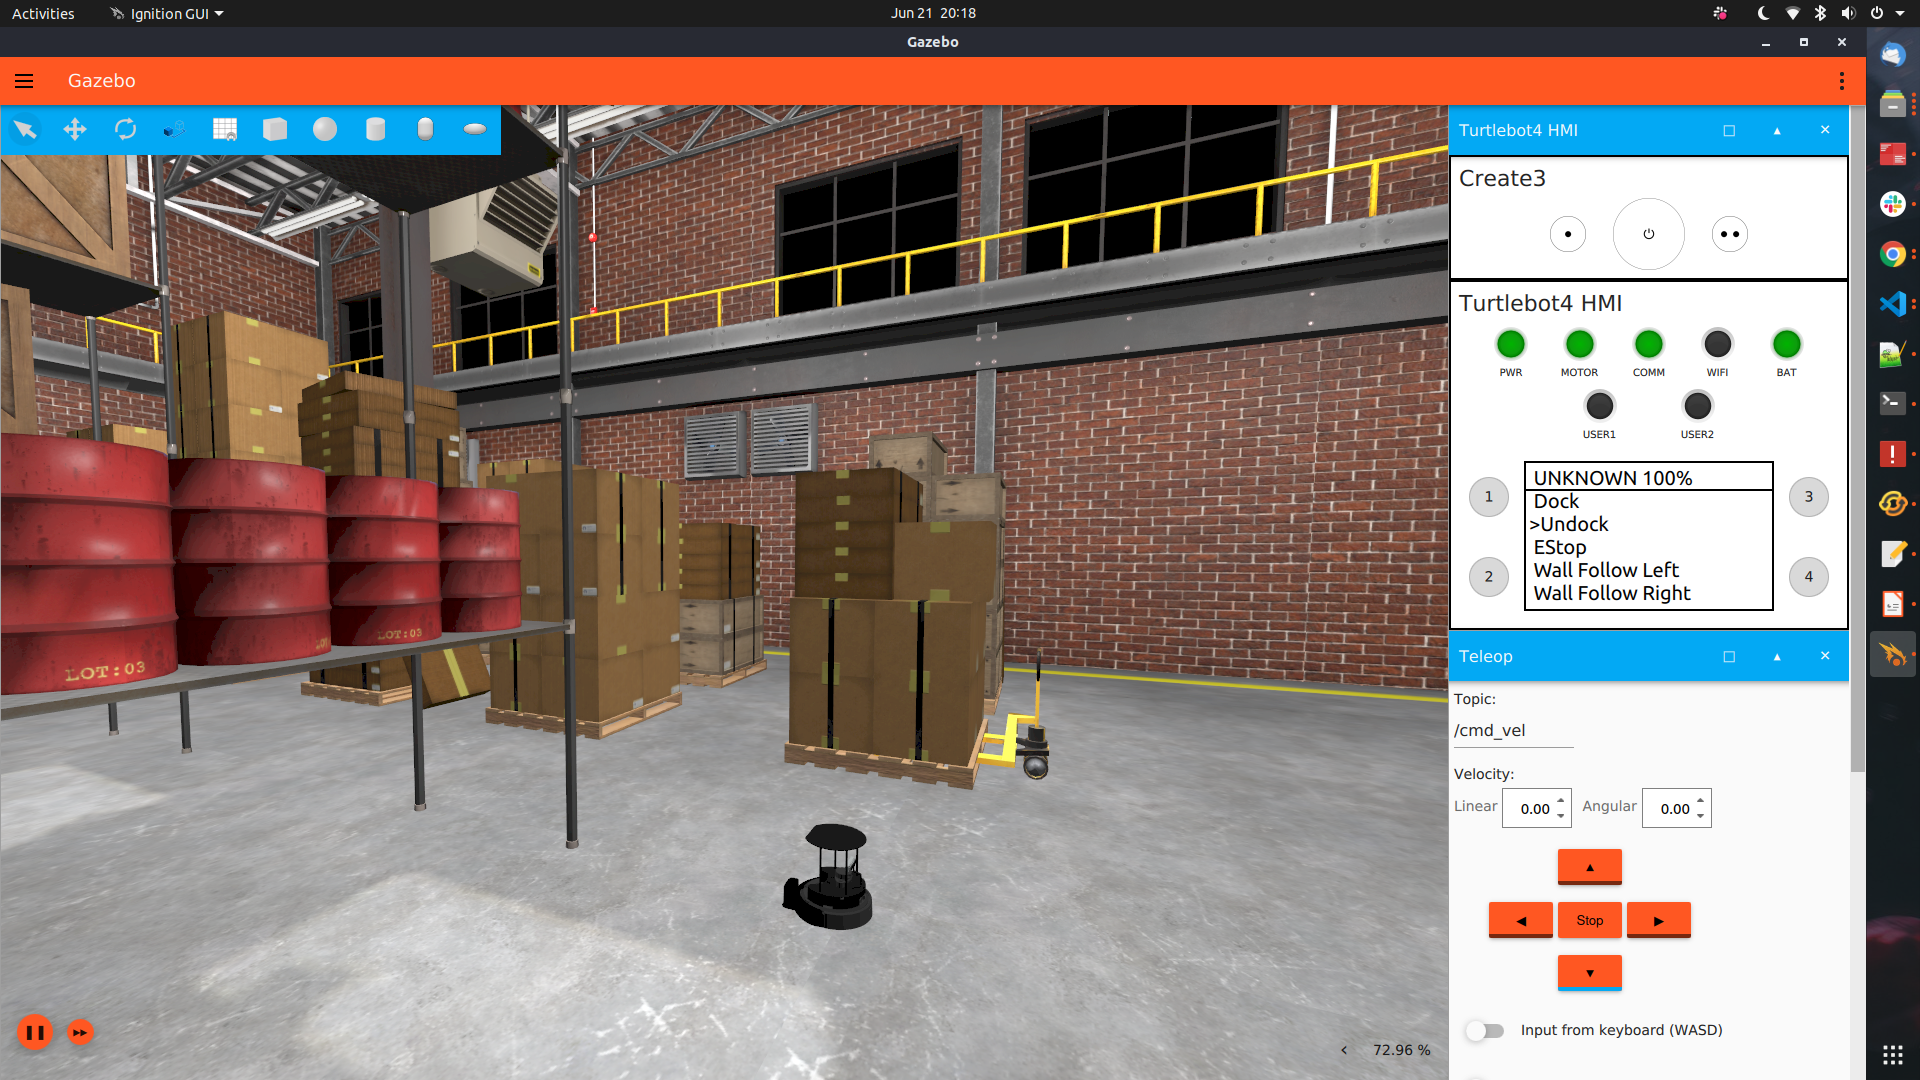
</include>- Full length code is found under code folder in this directory. File name is
L02-S05-custom_world.sdf
- Launch the TurtleBot4 on to your custom world by following below commands.
colcon build
ros2 launch ignition.launch.py world:=custom_world